
This post was first published on the Packetswitch blog in January 2025.
In a previous post on the Packetswitch blog, I covered Infrahub installation and the basics of the platform. Now let’s explore the Schema Library provided by OpsMill, the team behind Infrahub.
Infrahub doesn’t include any schemas out of the box, so we need to create our own. However, the Schema Library repository offers a collection of schemas that we can easily import into Infrahub.
In this post, we’ll take a closer look at the Schema Library and how to use it.
What is a schema?
The way I think about schema is that it’s a blueprint that defines the structure of your data. It specifies the nodes (like devices and interfaces), their attributes, and the relationships between them. This allows you to customize how you organize and manage your inventory in Infrahub.
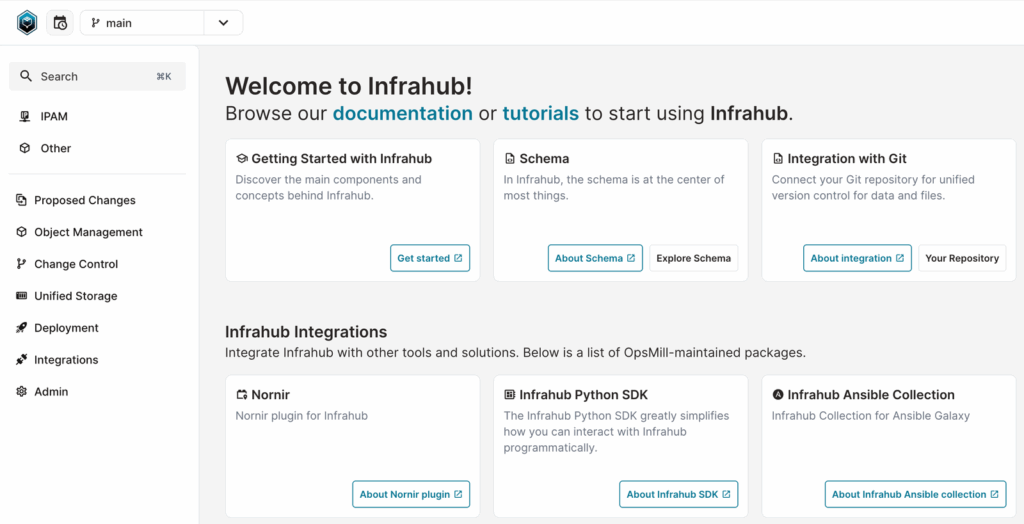
When you install Infrahub for the first time, you won’t find any schemas available to add to your inventory. Out of the box, I can only see IPAM and nothing else.
How to use the Infrahub Schema Library
Instead of reinventing the wheel by creating your own schema, you can simply import the schemas you need into Infrahub. First, clone the schema-library repository to your Infrahub server instance using the following command.
git clone https://github.com/opsmill/schema-library.gitFrom here, you have two options:
- Import the schema directly into your main branch.
- Create a new branch, import the schema, verify everything works as expected, and then merge it into the main branch.
The recommended approach is the latter, creating a new branch. In fact, Infrahub suggests creating a new branch every time you make changes to the schema or even the data stored in Infrahub.
So, let's first look at how to create a new branch. You can create a new branch either on the CLI or directly via the web GUI. The way you interact with Infrahub on the CLI is through infrahubctl. If you're not familiar with infrahubctl or how to install it, refer back to my introductory post. However, here’s the command to install it.
pip install 'infrahub-sdk[ctl]'export INFRAHUB_API_TOKEN="186d6fc0-d941-fb68-352-c51e2d59e621"Once installed, you can create a new branch as shown below. If you prefer, you can also create a new branch from the web GUI.
infrahubctl branch create base-schema
Branch 'base-schema' created successfully (18178e09-be9a-36fa-2d12-c51ef598f078).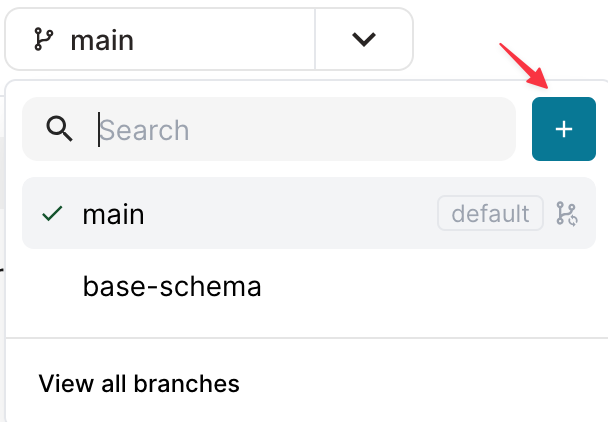
Next, use infrahubctl to import the schema into Infrahub. Here you can specify the branch you want to use.
infrahubctl schema load --branch base-schema schema-library/base/
infrahubctl schema load --branch base-schema schema-library/extensions/vlan/
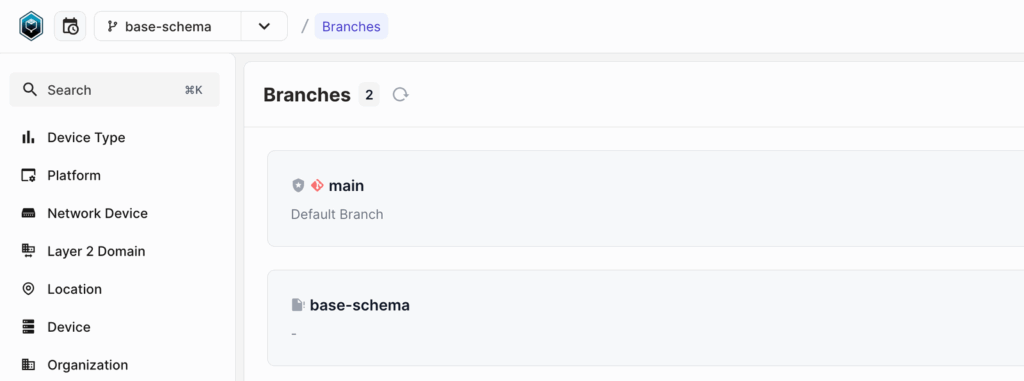
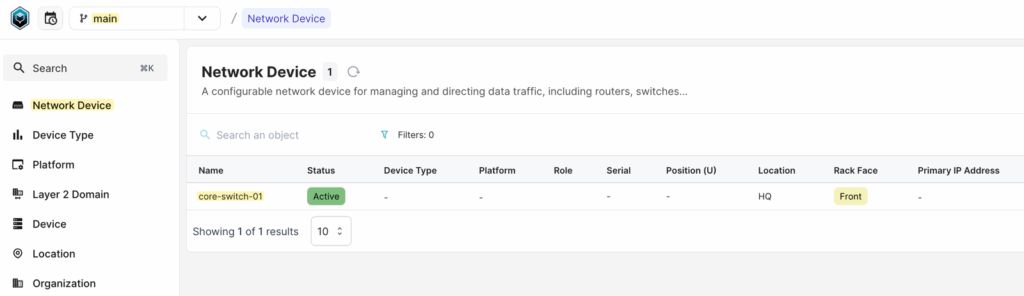
infrahubctl schema load --branch base-schema schema-library/extensions/location_minimal/You’lll immediately notice that various options now appear in the Infrahub GUI. You can start adding your network devices, VLANs, interfaces, and more into Infrahub, as shown below.
infrahubctl schema load --branch base-schema schema-library/base/*.yml
infrahubctl schema load --branch base-schema schema-library/extensions/vlan/*.yml
infrahubctl schema load --branch base-schema schema-library/extensions/location_minimal/*.yml
Creating a Proposed Change for the new schema
But remember, the new schema is still in the new branch. If you switch back to your main branch, you won't see the changes. Once you're satisfied with the schema, you can either merge it directly or create a Proposed Change to have someone review and approve it.
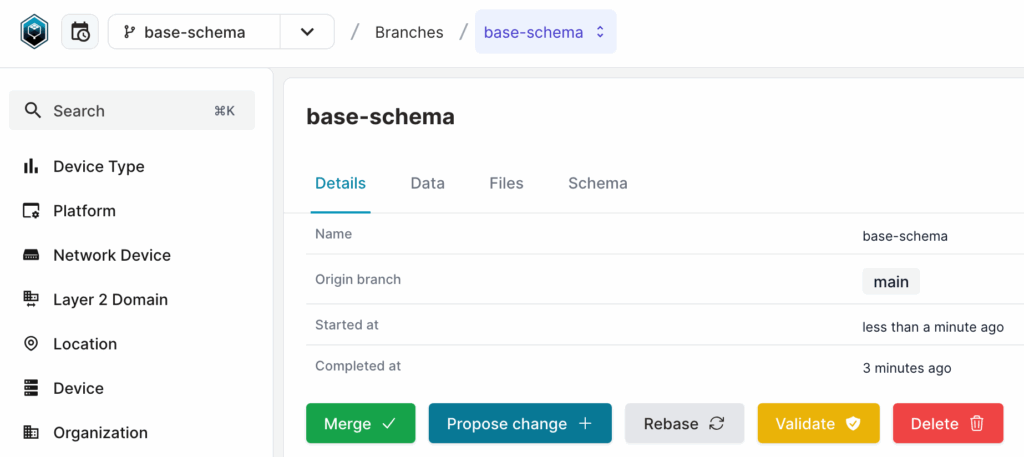
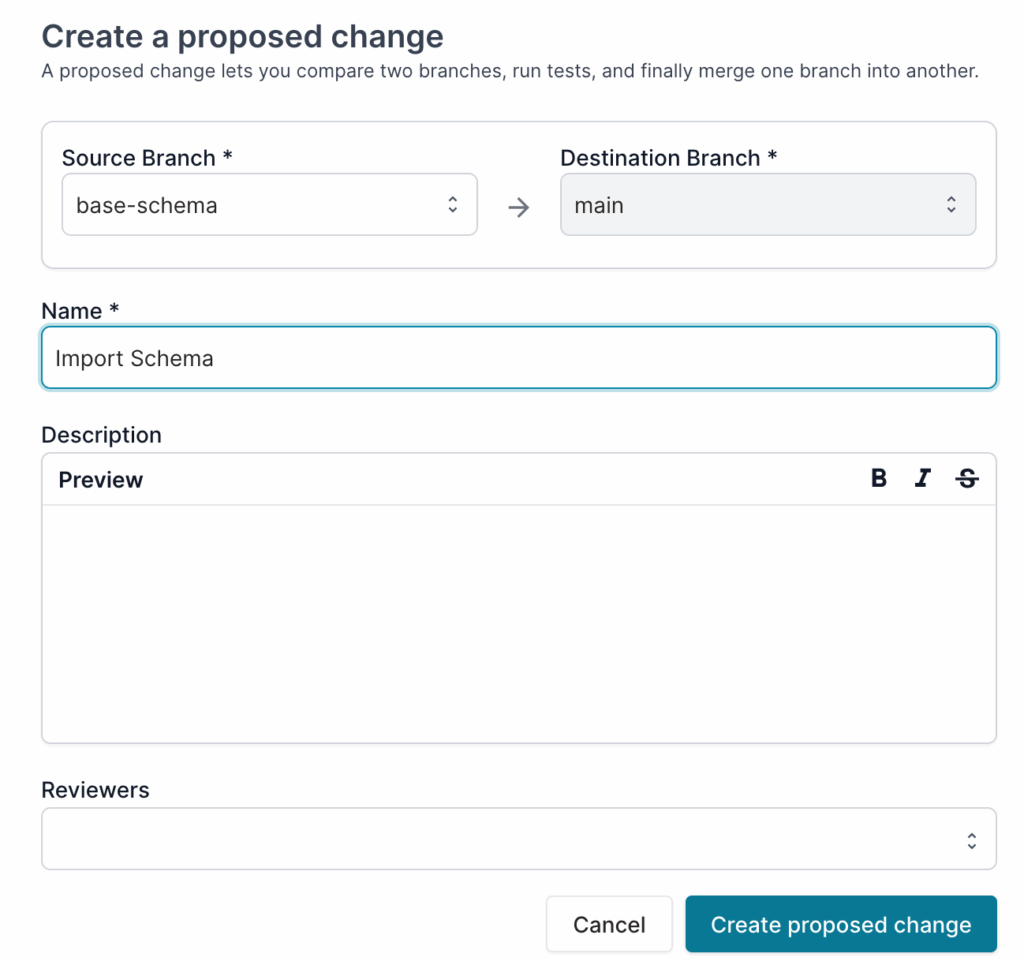
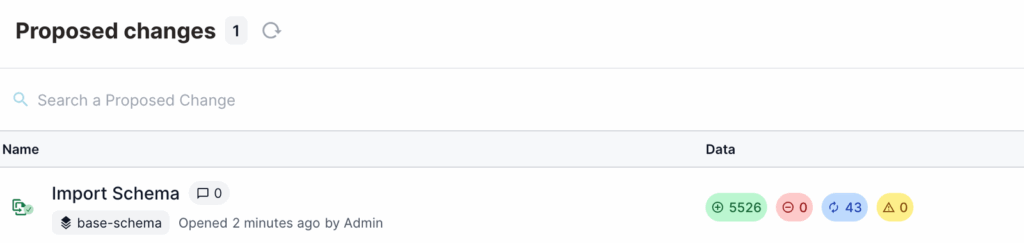
When you create a Proposed Change, both you and the reviewer can see the modifications. After the review and approval, you can merge it into the main branch.
After you merge, the new schema becomes part of your main branch, and you can start adding your devices.
Importing more schemas
Before we wrap up, I’ll import a few more schemas into a new branch. Since I’m working on a branch, if I’m not satisfied with the new schemas, I can simply discard the branch instead of manually deleting each schema I imported.
infrahubctl schema load --branch compute schema-library/extensions/compute/
infrahubctl schema load --branch compute schema-library/extensions/patch_panel/
infrahubctl schema load --branch compute schema-library/extensions/cable
infrahubctl schema load --branch compute schema-library/extensions/circuit/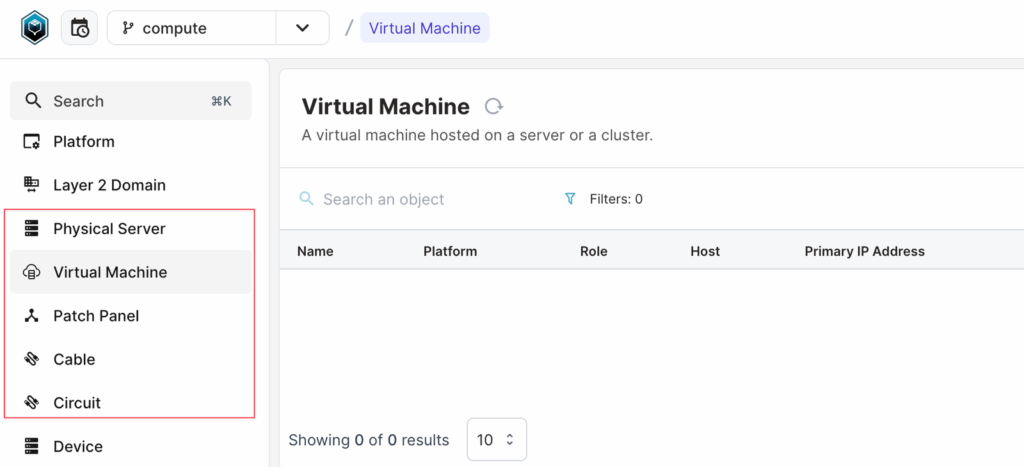
I hope this post gives you a clear idea of how schemas work. Remember, you can always modify schemas to suit your needs. The schema file is just a YAML file, and with a few hours of practice, you’ll start to understand how the schema is defined.
